How to Install NodeJS
February 06, 2024Disponible en español
Node.js is an asynchronous JavaScript runtime environment that executes JavaScript code outside of a browser. This allows developers to code the back ends of their applications using JavaScript instead of another programming language. Node.js runs scripts on the server side to produce dynamic webpage content before the page is sent to the user's web browser.
Node.js has two versions. The LTS version is the most recent stable version that typically guarantees that critical bugs have been fixed or a period of time, often up to 30 months. Apps built for production or requiring a reliable Node.js version should always use LTS releases.
The Current version is the most recent release of Node.js. All new Node.js releases enter a current release period of six months. During this time, the content authors have time to identify major bugs and troubleshoot the build.
Since users of the current version may face incompatibility issues and bugs that are not yet addressed, it is important to download the tested and stable LTS version to make sure your app -- and Node.js -- perform as expected.
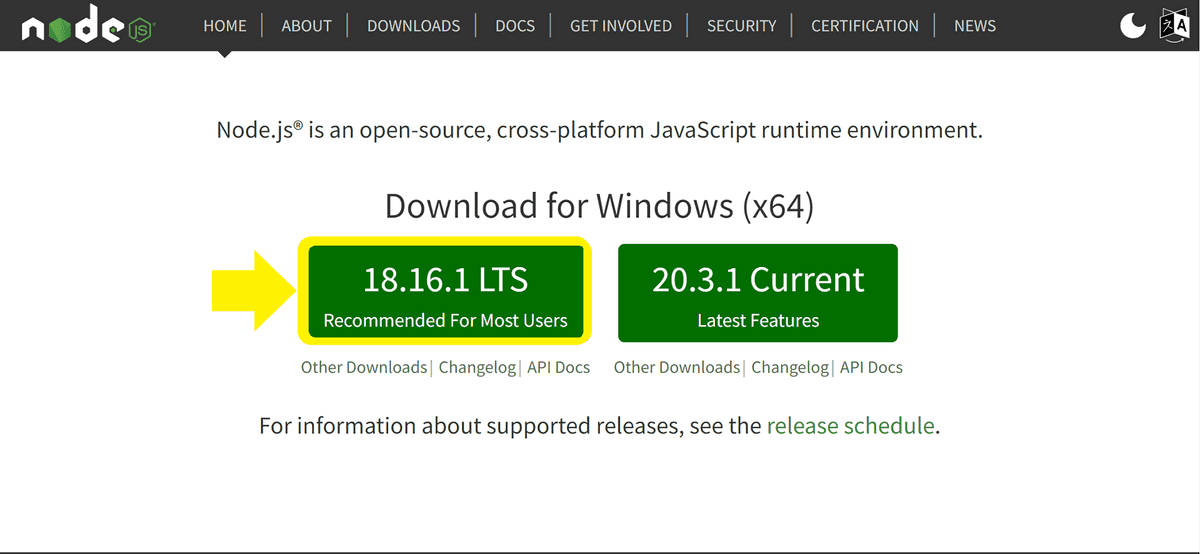
To install Node.js version 18 on a Windows computer, go to Node's website. Under "Download for Windows (x64)", click the green box with the LTS version of Node to download the installer. The correct version will be labeled "x.x.x LTS Recommended for Most Users", where "x.x.x" is a combination of numbers. For example, the version shown in the following image is "18.16.1 LTS":

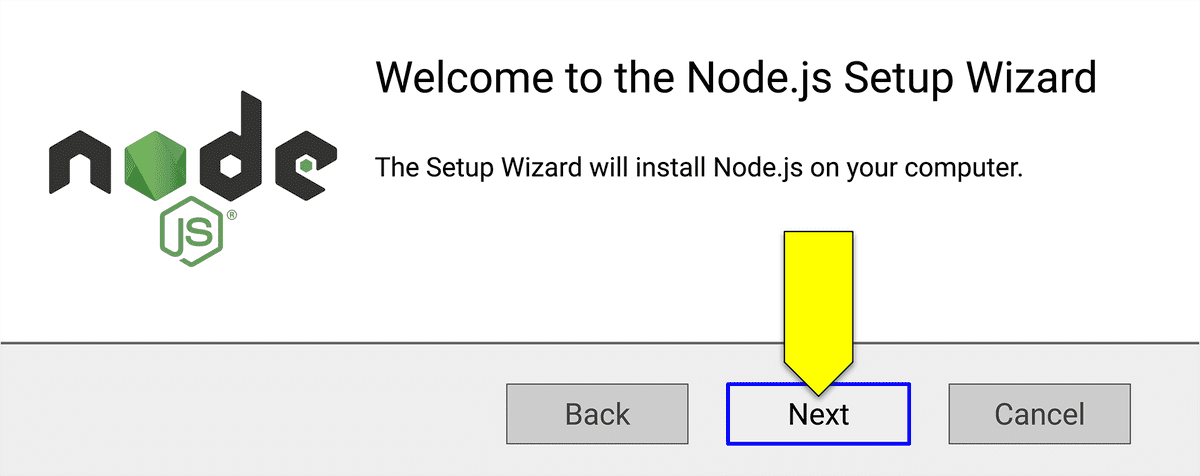
After the installer has downloaded, open it to begin the installation process. Follow the prompts by clicking Next in the Setup Wizard, as shown in the following image:

After you click the checkbox to accept the license agreement, continue clicking Next until the installation screen says "Ready to install Node.js".
Note: You may be prompted to install tools for native modules. Make sure there aren't any selected elements on that page and click on Next.
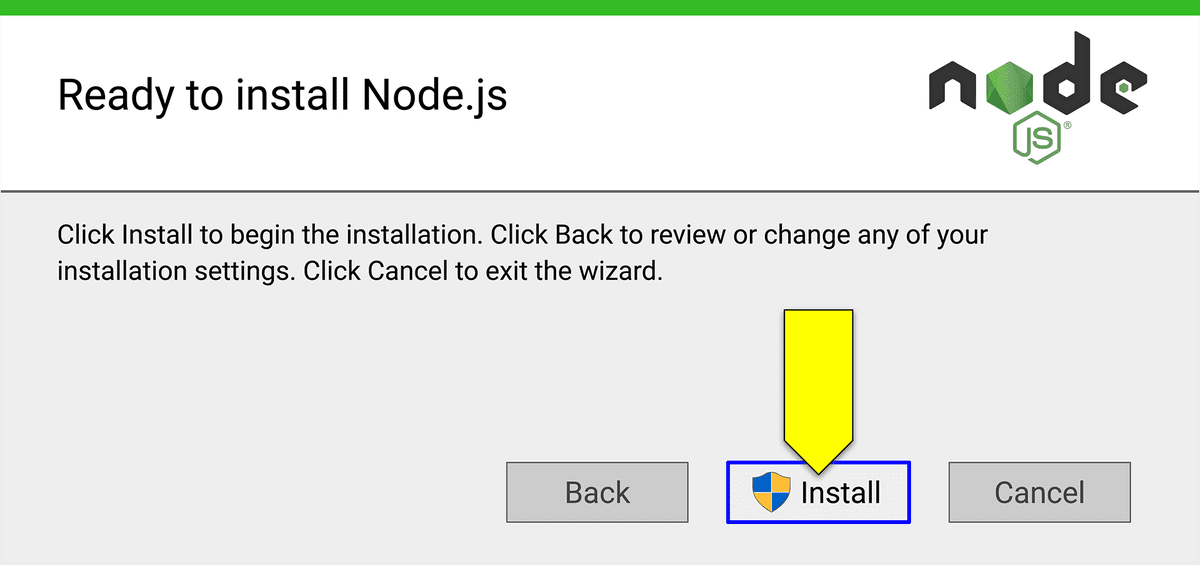
Click the Install button to finish installing Node.js.

When the installation is complete, click Finish.
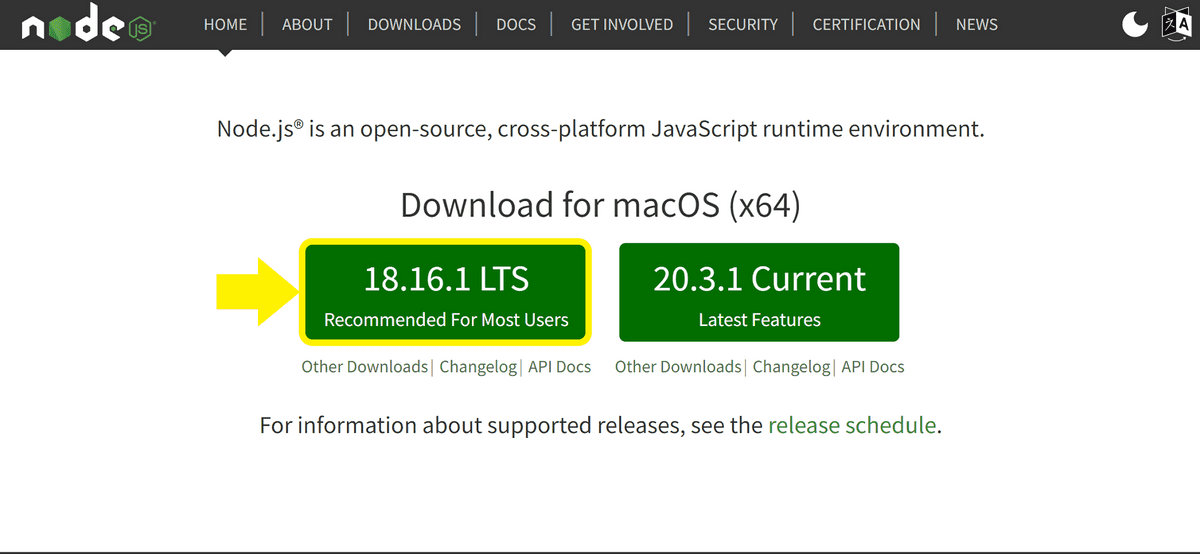
To install Node.js on macOS, go to Node's website. Under "Download for macOS", click the green box with the LTS version of Node to download the installer. The correct version will be labeled "x.x.x LTS Recommended for Most Users", where "x.x.x" is a combination of numbers. For example, the version shown in the following image is "18.16.1 LTS":

After the installer has downloaded, open it to begin the installation process. Just as in the instructions for Windows, follow all of the installation prompts until Node.js is installed on your computer.
To use Homebrew to install Node.js, first go to Node's website to find the most recent LTE version.
Then, make sure to include the first two numbers of the LTS version in the installation script.
For example, in the image above, the version shown is "18.16.1 LTS". To install this version using Homebrew, you would use the following script: brew install node@18.
After the installation is complete, enter node -v in the terminal to check that the most recent LTS version has been installed.
This page was updated 6 months ago
© 2022 edX Boot Camps LLC. Confidential and Proprietary. All Rights Reserved.
Category: NodeJS
Tagged under: nodejs, javascript, installation, guide, nodejs LTS, homebrew,
All Posts
- OpenAI Account Setup Guide
- NodeJS Installation Guide
- PostgreSQL Reference Guide
- GitHub Copilot Guide
- PostgreSQL Installation Guide
- Deploy with Render and PostgreSQL
- API Resources
- Render Deployment Guide
- Deploying a MERN Stack Application to Render
- Deploy with Render and MongoDB Atlas
- The Science and Research Behind Our Unconventional Educational Approach
- What Makes Up a Web Development Project?
- Localhost Loopback Issues Troubleshooting Guide
- Video Submission Guide
- A Growth Mindset for Life
- Web Literacy
- Developer Resources
- Introduction to Computer Structure and Organization
- MySQL Installation Guide
- HTML Cheatsheet
- Advanced Computer Skills
- Introduction to Computer Skills
- How to Use API Keys
- How to Install MongoDB
- MySQL Reference Guide
- Heroku Deployment Guide
- Getting Started with Git
- Using the GraphQL Playground in a MERN application
- Professional README Guide
- Regular Expression Tutorial
- How to Install the Heroku CLI
- How to Install NodeJS
- Deploy with Heroku and MySQL
- Deploy with Heroku and MongoDB Atlas
- Set Up MongoDB Atlas