Render Deployment Guide
May 28, 2024This guide reviews the steps to set up a Render account and deploy an application to Render.
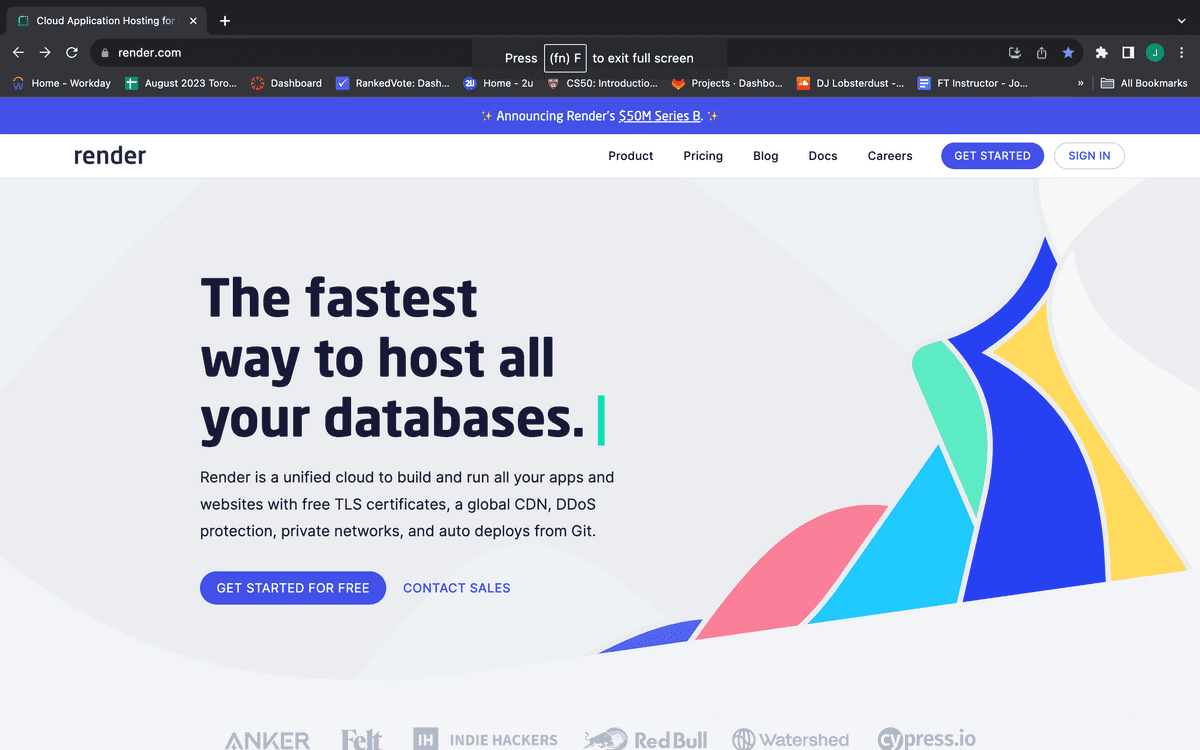
Render is a web hosting solution we will use for hosting full-stack applications. Render—which bills itself as "the fastest way to host all your web apps"—allows us to easily deploy code from existing GitHub repositories. To get started, click the "Get Started For Free" button from the homepage, as shown in the following image:
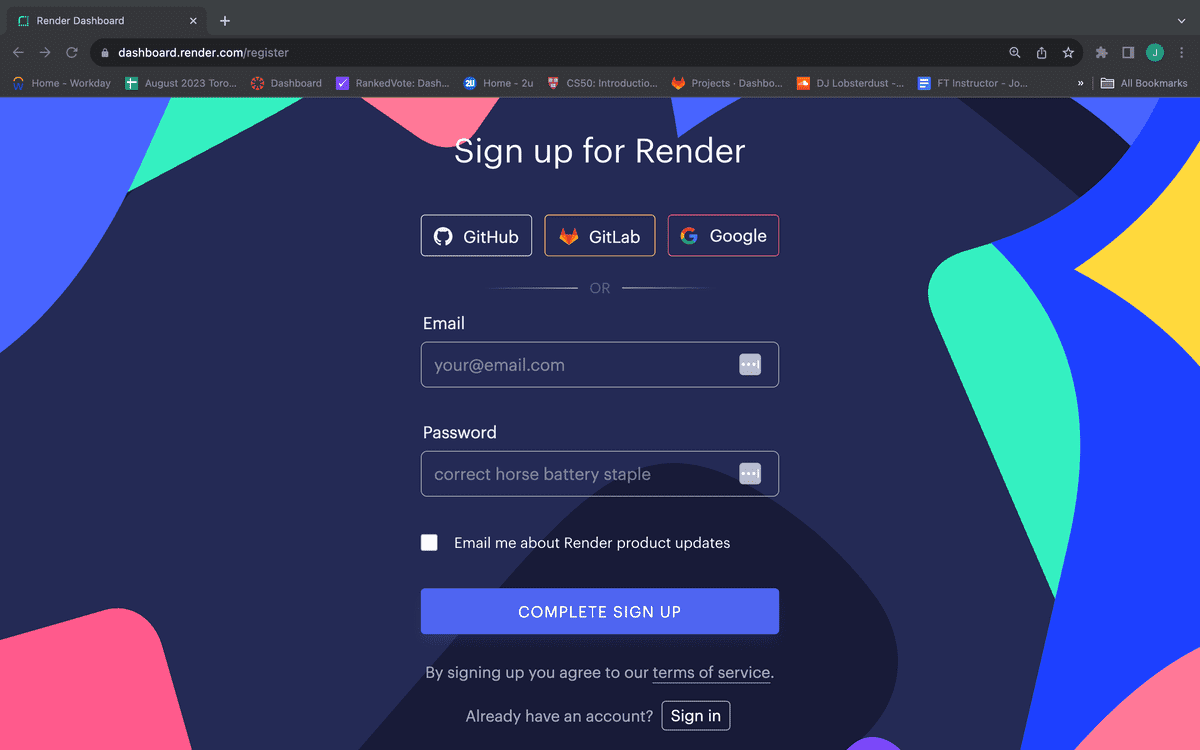
Since we will be linking Render to our existing GitHub repositories, sign up with your existing GitHub account, as shown in the following image:
Click the "Complete Sign Up" button, as shown in the following image (note that the email address has been edited out of the screenshot):
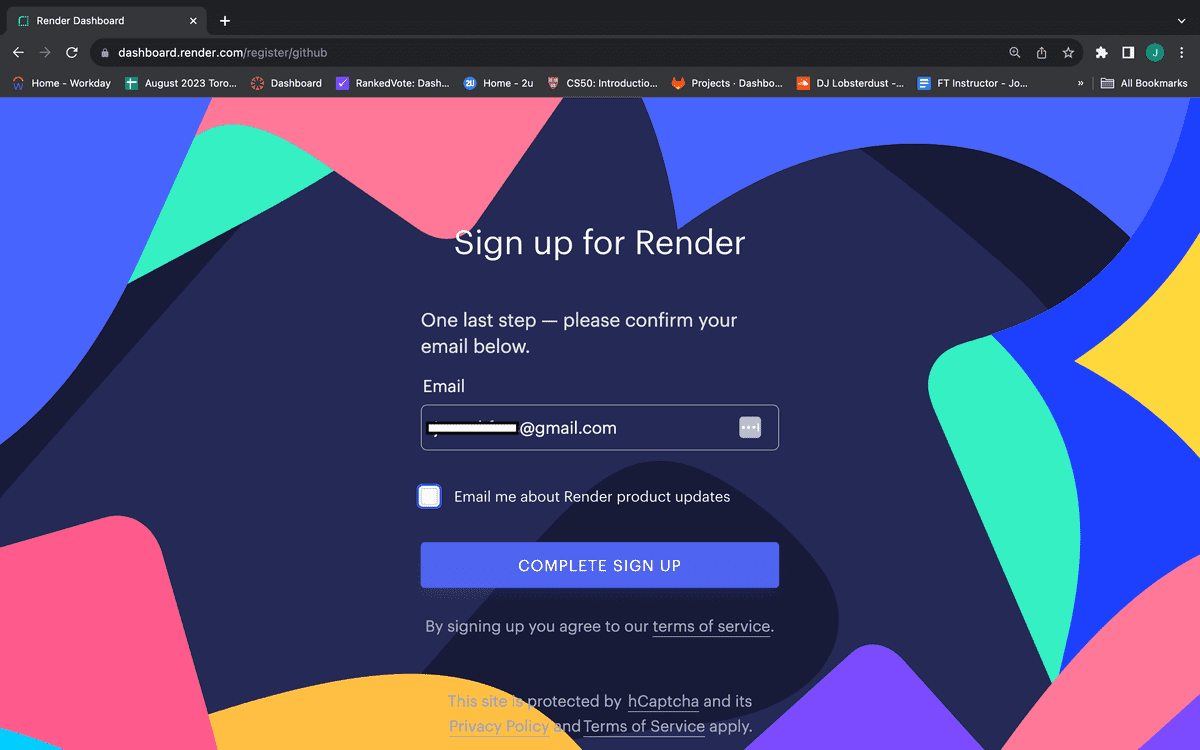
You will need to confirm your account via a link in your email. Once you've done that, your account has been created!
You've likely already deployed a front-end application to a platform like GitHub Pages. But to deploy an application with a back end, you'll need a platform like Render that can handle the additional configuration—so that your app can accept incoming connections from the internet.
To start, make sure that your project is initialized as a Git repository. You can check this by running the following command at the root of your project:
git status
If you encounter an error, that means that your project isn't yet a Git repository. You can initialize the repository by running the following command:
git init
Applications that feature an Express.js back end can use Render's PORT environment variable. To set this up, create a port variable with a value of process.env.PORT. You can also add a default value for local instances of your server by using the || syntax, as shown in the following example:
const port = process.env.PORT || 3001
Render allows you to deploy directly from a GitHub repository, so make sure you have committed and pushed your changes to your GitHub:
git add -Agit commit -m "<descriptive message here>"git push
Now that we've created the repository, configured the server, and pushed to GitHub, we can create an app on Render and link it to our existing GitHub repository.
The Render dashboard allows us to easily create an app and link an existing GitHub repository to it to deploy.
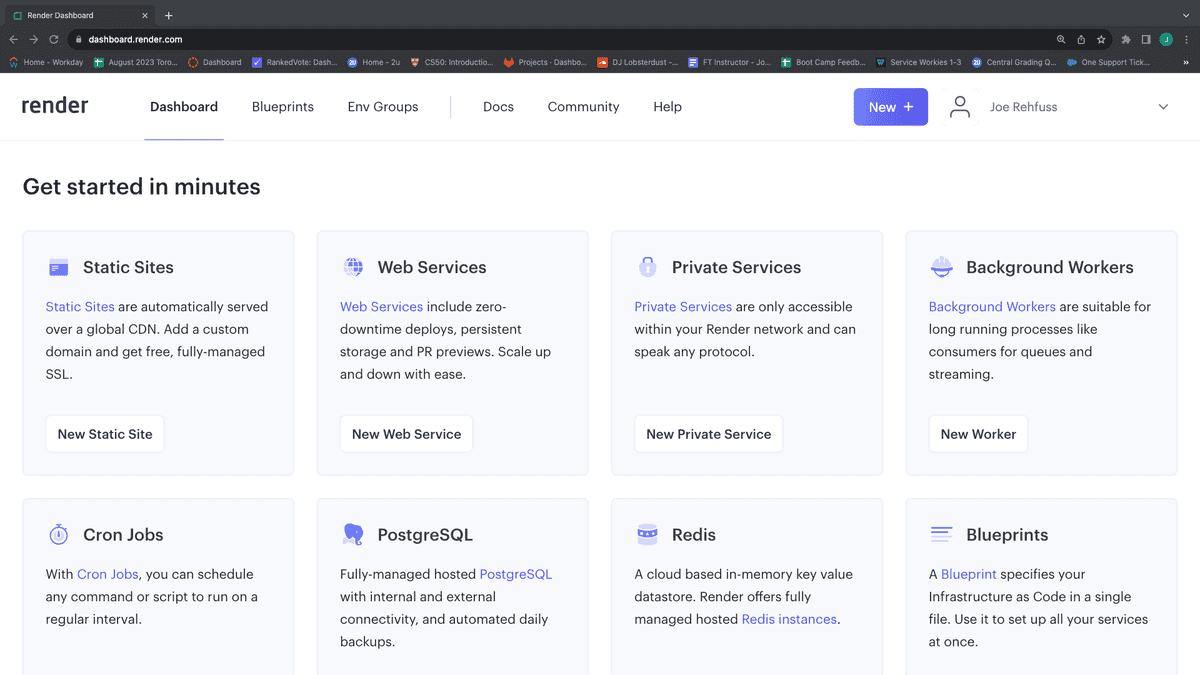
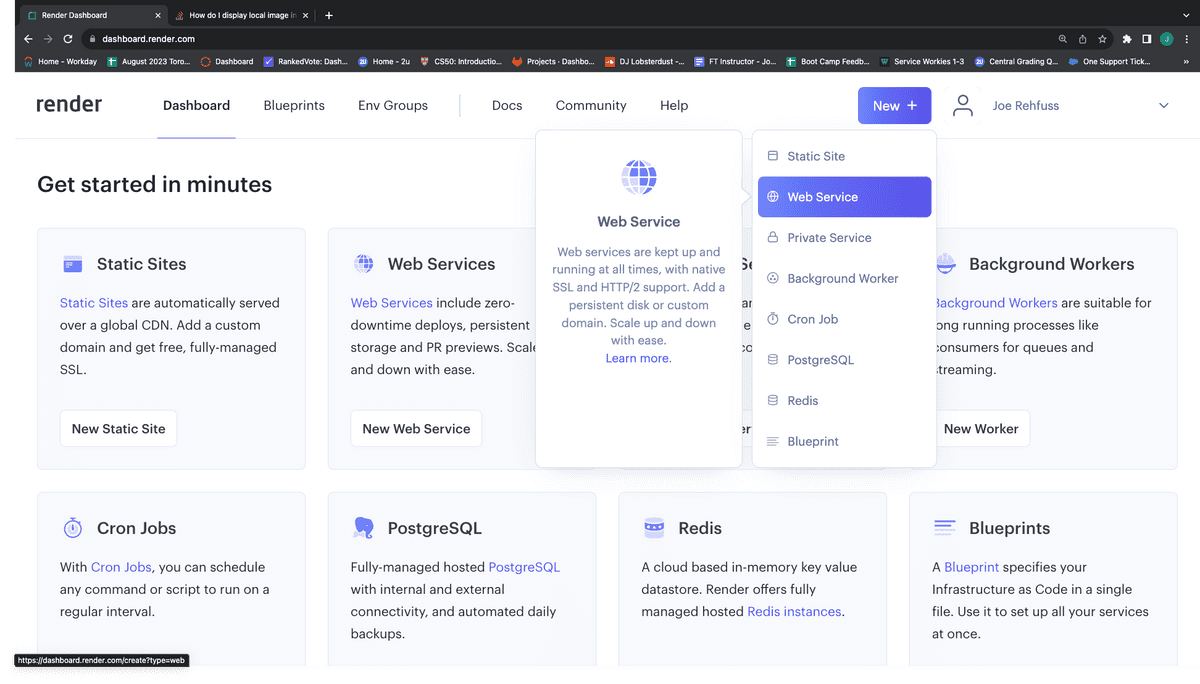
Create a new Render app by clicking the "New" button on the right side of the navbar, as shown in the following image:
Select "Web Service" from the dropdown menu, as shown in the following image:
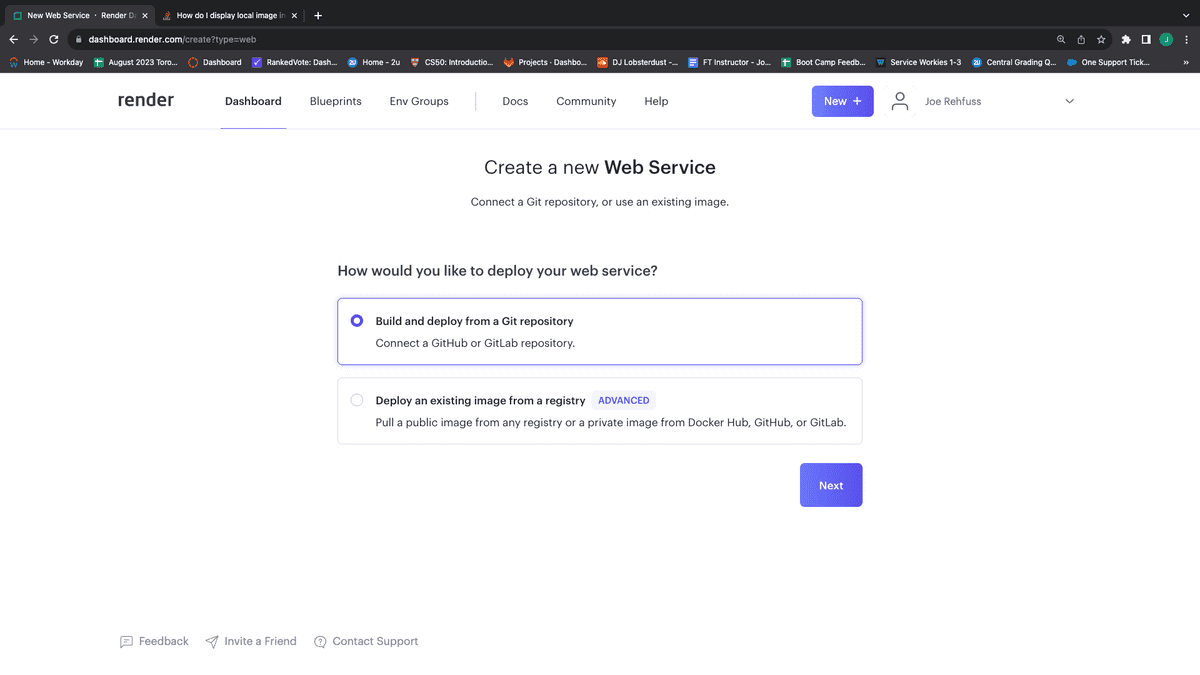
Make sure "Build and deploy from Git repository" is selected, then click "Next," as shown in the following image:
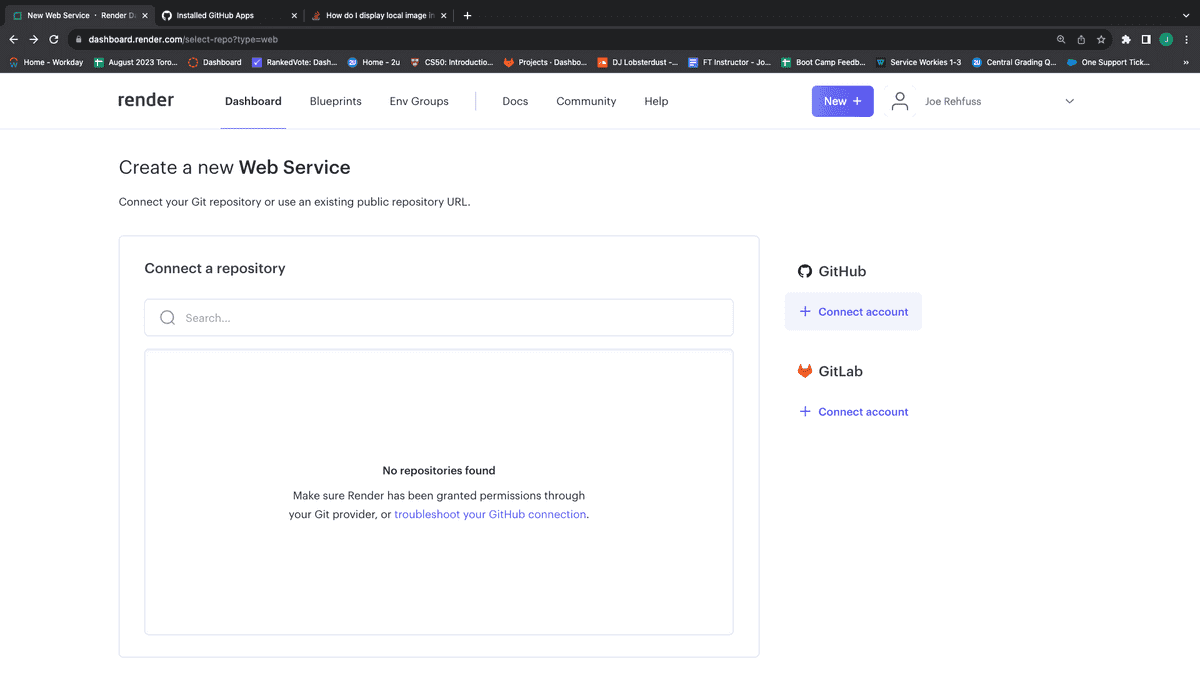
If this is your first time deploying to Render, you will need to allow access to your GitHub repositories. Click on the "+ Connect account" link under the GitHub heading, as shown in the following image:
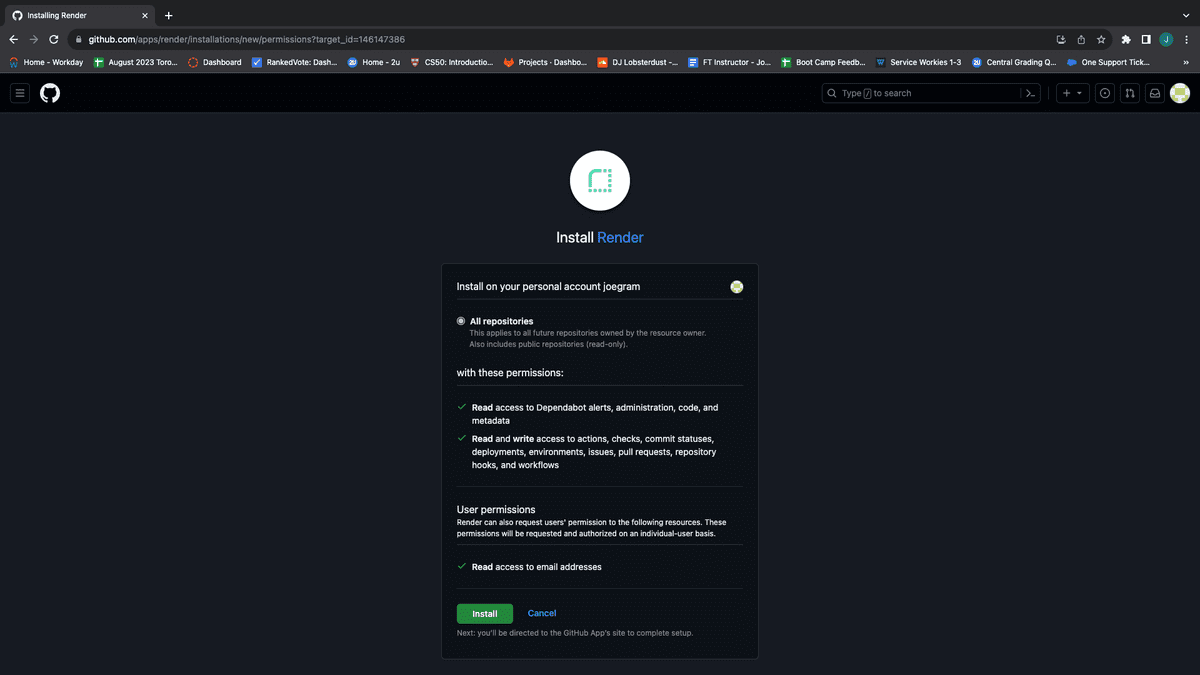
Next, install Render to your GitHub account, providing access to all of your repositories, as shown in the following image:
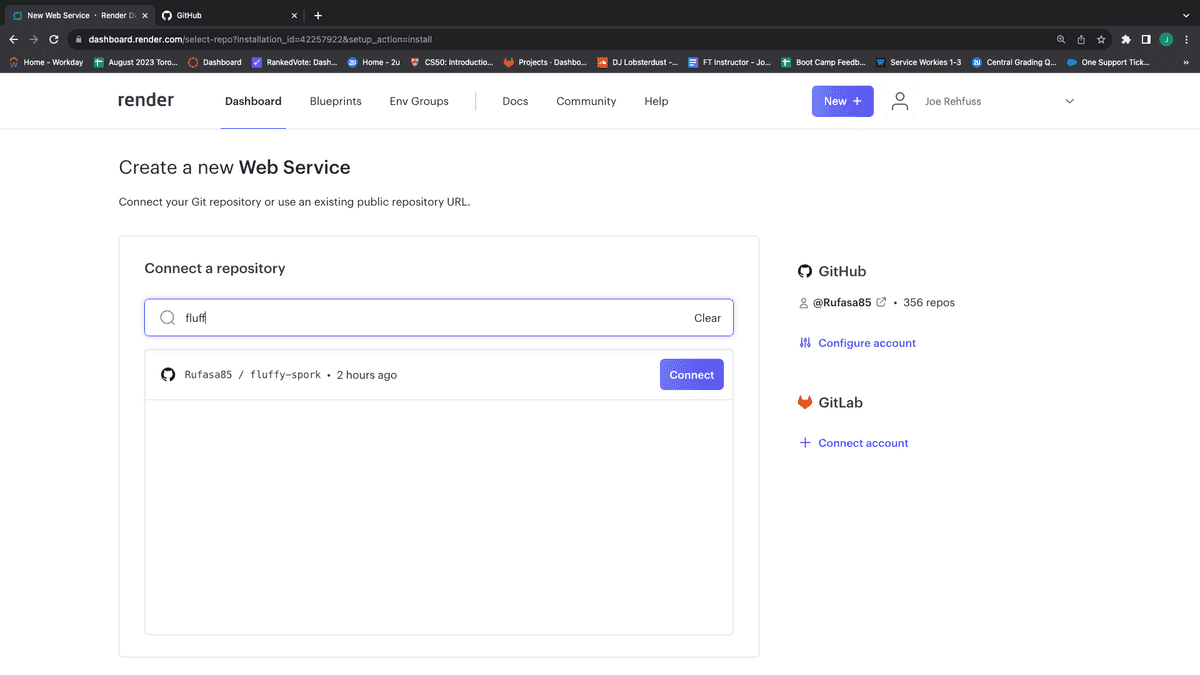
Click the blue "Connect" button next to the repo you want to deploy. You can use the search box to filter out the repo you want, as shown in the following image:
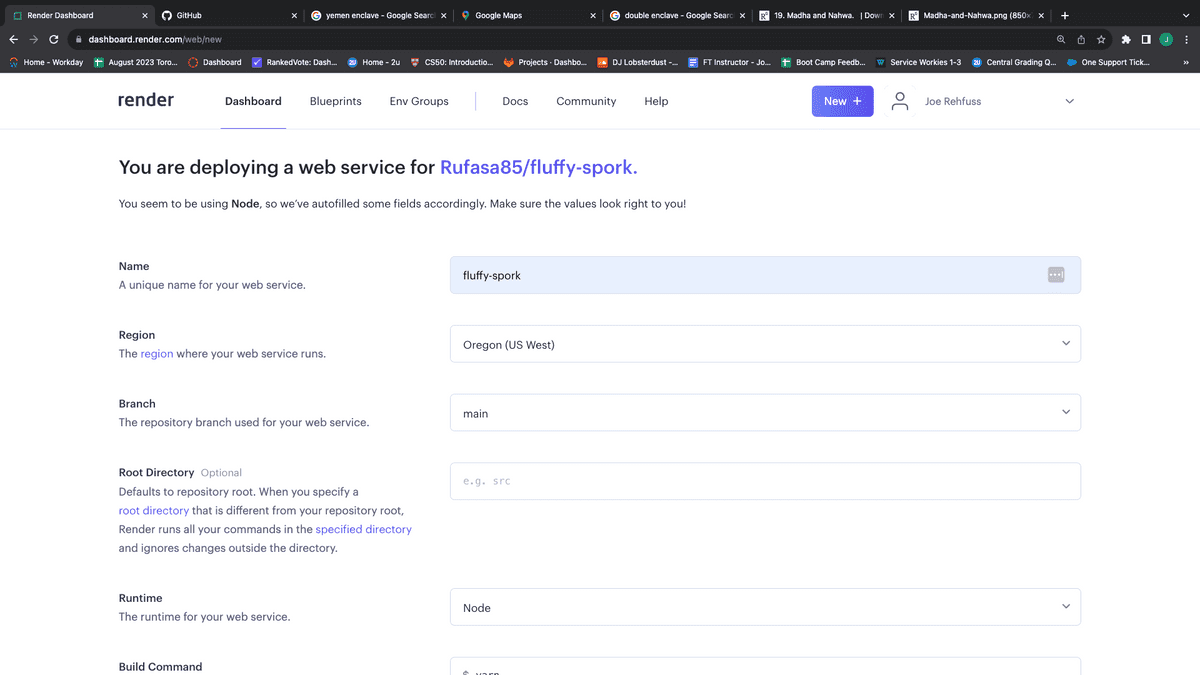
Give your new Render app a unique name, as shown in the following image. It does not have to match the repo name, but it is useful to do so to keep track of which app is attached to which repo:
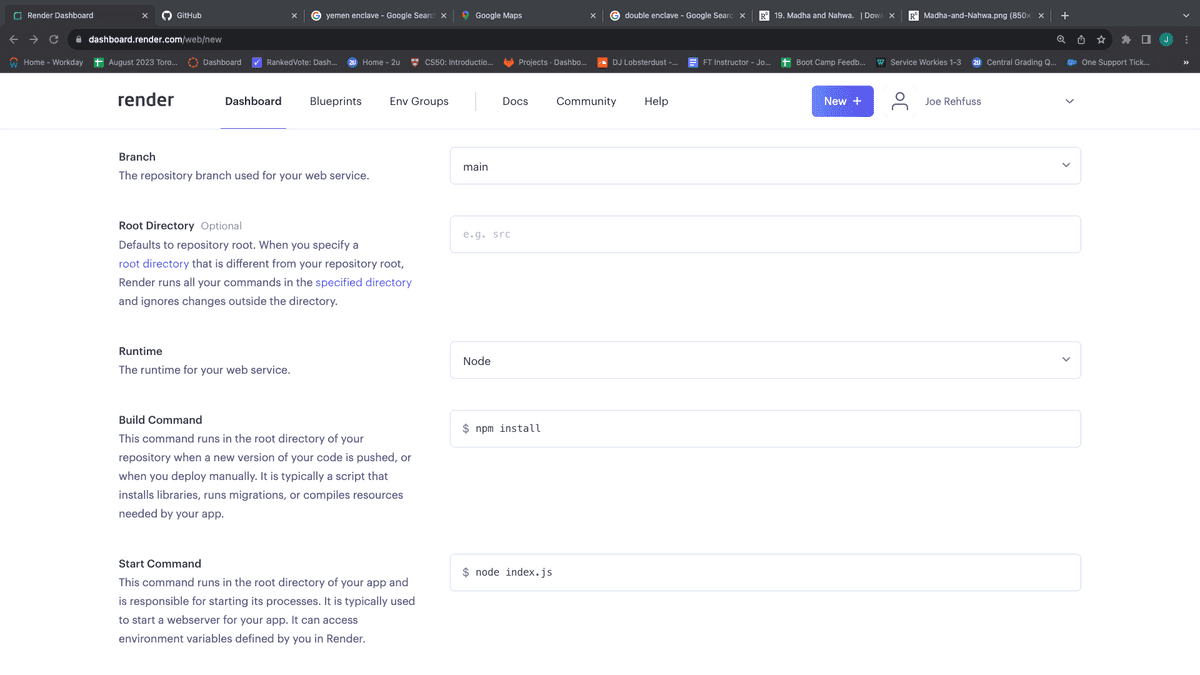
Render needs to know which steps need to be taken to get your app up and running. In the case of an Express.js app, we need to run npm install to install all required dependencies. Scroll to the section "Build Command" and update the field to npm install. Render also needs to know which command to run to start your application. The "Start Command" field will be automatically populated with the start script from your package.json. Confirm that the "Start Command" is correct, as shown in the following image:
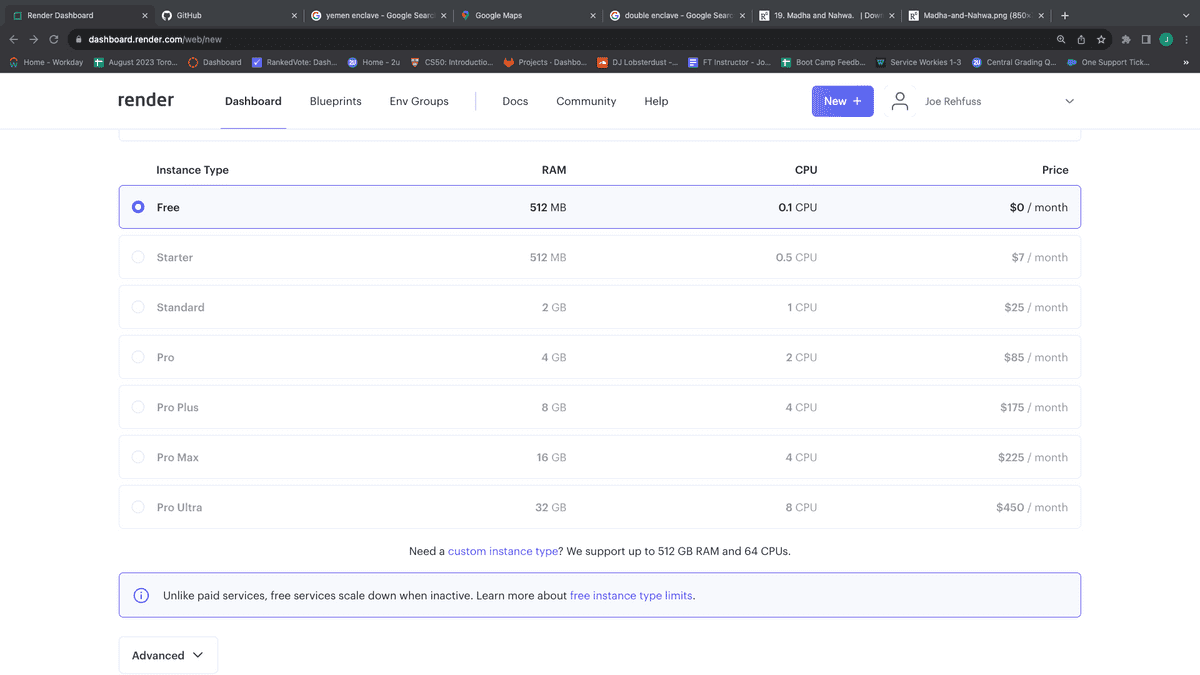
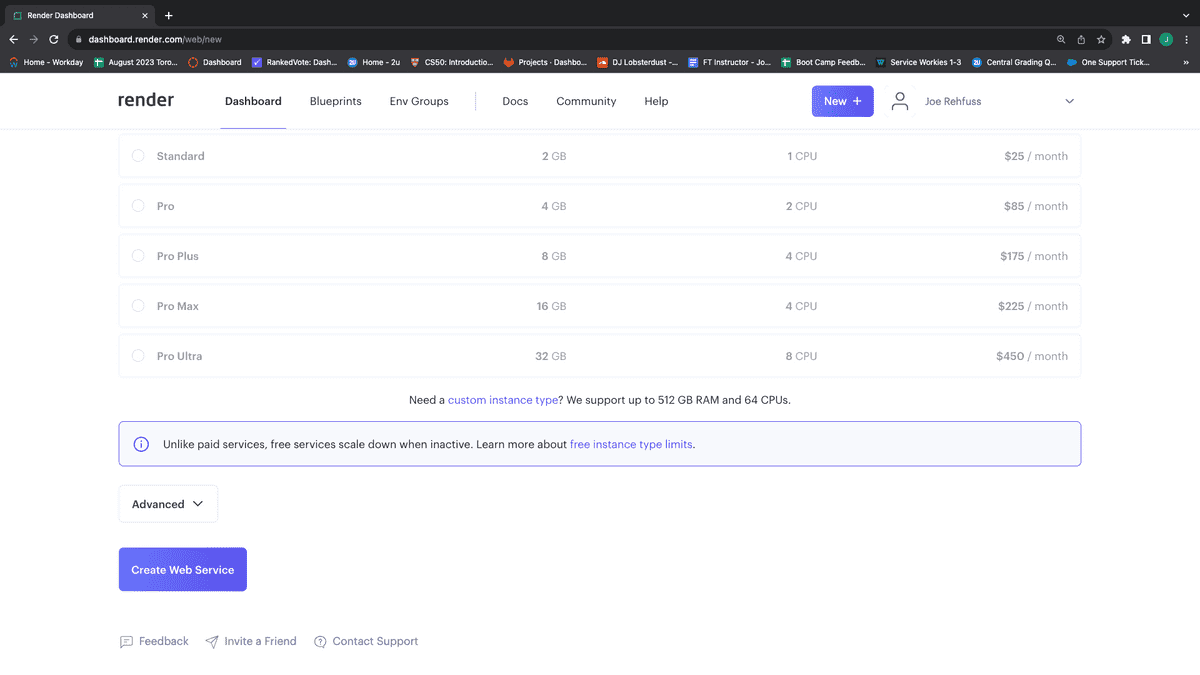
Make sure you leave the free tier selected, as shown in the following image:
Now, we need to specify the node version in the Environment Variable section. Click the "Add Environment Variable" button, as shown in the following image:
Next, click the "Create Web Service" button, as shown in the following image:
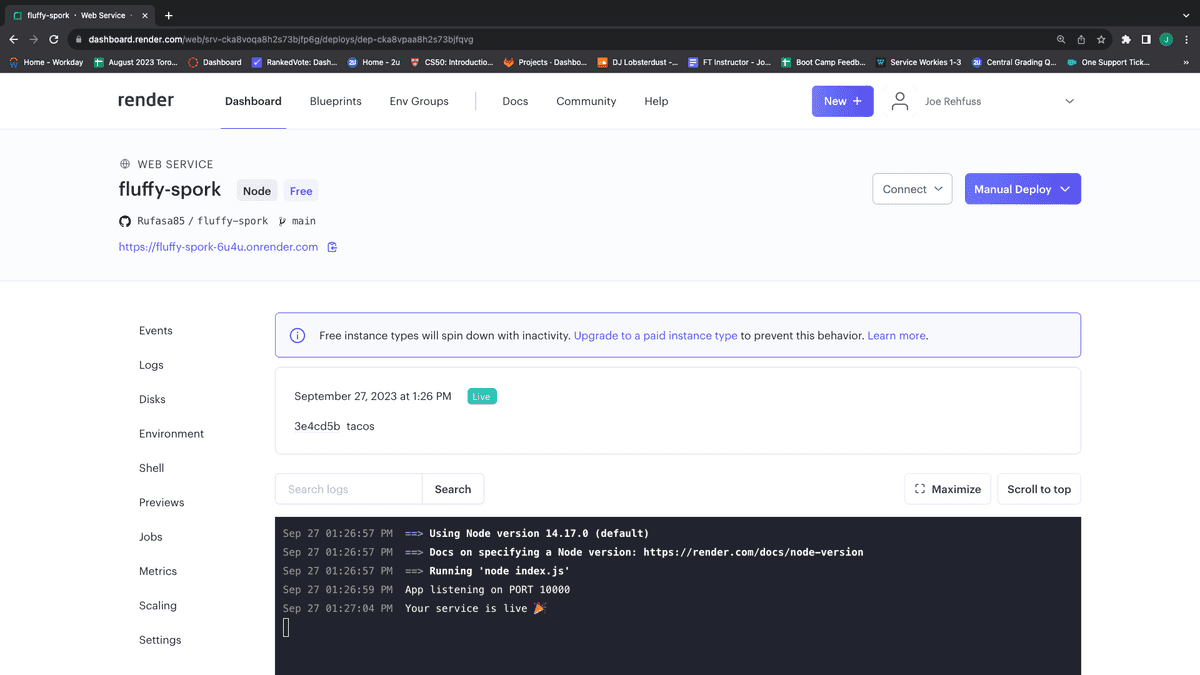
The next page will log all the actions being taken to set up your server. Once your server goes live, you can use the provided link toward the top of the page to view your live site, as shown in the following image:
Visit the following link to supplement this guide:
This page was updated 2 months ago
© 2022 edX Boot Camps LLC. Confidential and Proprietary. All Rights Reserved.
Category: render
Tagged under: render, deployment, guide,
All Posts
- OpenAI Account Setup Guide
- NodeJS Installation Guide
- PostgreSQL Reference Guide
- GitHub Copilot Guide
- PostgreSQL Installation Guide
- Deploy with Render and PostgreSQL
- API Resources
- Render Deployment Guide
- Deploying a MERN Stack Application to Render
- Deploy with Render and MongoDB Atlas
- The Science and Research Behind Our Unconventional Educational Approach
- What Makes Up a Web Development Project?
- Localhost Loopback Issues Troubleshooting Guide
- Video Submission Guide
- A Growth Mindset for Life
- Web Literacy
- Developer Resources
- Introduction to Computer Structure and Organization
- MySQL Installation Guide
- HTML Cheatsheet
- Advanced Computer Skills
- Introduction to Computer Skills
- How to Use API Keys
- How to Install MongoDB
- MySQL Reference Guide
- Heroku Deployment Guide
- Getting Started with Git
- Using the GraphQL Playground in a MERN application
- Professional README Guide
- Regular Expression Tutorial
- How to Install the Heroku CLI
- How to Install NodeJS
- Deploy with Heroku and MySQL
- Deploy with Heroku and MongoDB Atlas
- Set Up MongoDB Atlas